Alignment Workspace
Overview
In the Alignment Workspace, you can edit the way scanned data is transformed into a common Mill System. Each ScanHead produces data in it's own coordinate system; by setting an alignment, the returned data is rotated and shifted so that it conforms to a target system of your choosing.
The target coordinate system is defined by the Fixture that is currently selected.
Toolbar
The toolbar contains the following items:
Camera-Laser Pair Selector
This user interface element lets you navigate all Camera-Laser Pairs in this ScanSystem. The currently selected pair is shown in the dropdown:

The arrow buttons cycle through the pairs, and the dropdown allows you to select a specific pair. As a visual aid, each entry has a color swatch specific to the pair.
Fixture Selector

The Fixture Selector lets you choose the Fixture that you want to align to. The dropdown contains all available Fixtures. The currently selected Fixture is shown in the dropdown.
By default, the Fixture Selector is set to the Default Fixture, as chosen when the ScanSystem was created.
The last entry in the dropdown menu is always "Edit Fixtures...". This opens a Windows Explorer window with the location of the fixture files. You can edit these files with a text editor, or create new ones.
Orientation Selector
The Orientation Selector lets you choose the Orientation of the ScanHead (i.e. the physical orientation of the ScanHead in the real world). For more details, see this article on what ScanHead Orientation means.

Changing the Orientation by clicking the button will invalidate the current alignment, and you will need to re-do the alignment. Note that Orientation is per ScanHead, and not per Camera-Laser Pair, so all alignments for the current ScanHead will be invalidated.
Accept & Next Button / Accept Button
The "Accept & Next" button will accept the current alignment and move to the next Camera-Laser Pair. If the current pair is the last pair, the first pair in this ScanSystem will be selected. The "Accept" button will accept the current alignment and stay on the current Camera-Laser Pair.
Revert Button
The "Revert" button will revert the current alignment to the last accepted alignment. This is useful if you make a mistake and want to start over.
Update Profile Button
The "Update Profile" button will initiate a new scan and refresh the display. This is useful if you changed the position of the fixture or if the quality of the scan is not good enough. The alignment quality will be recalculated and displayed in the Alignment Quality Indicator, using the current alignment values.
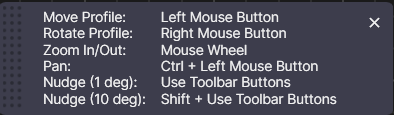
Nudge Left / Nudge Right Buttons

The "Nudge Left" and "Nudge Right" buttons will rotate the current alignment by a small amount (1 degree). This is useful if the alignment is close to correct, but not quite there. Holding the Shift key while clicking will rotate by 10 degrees.
Help Button
The help button will hide or show the help window.
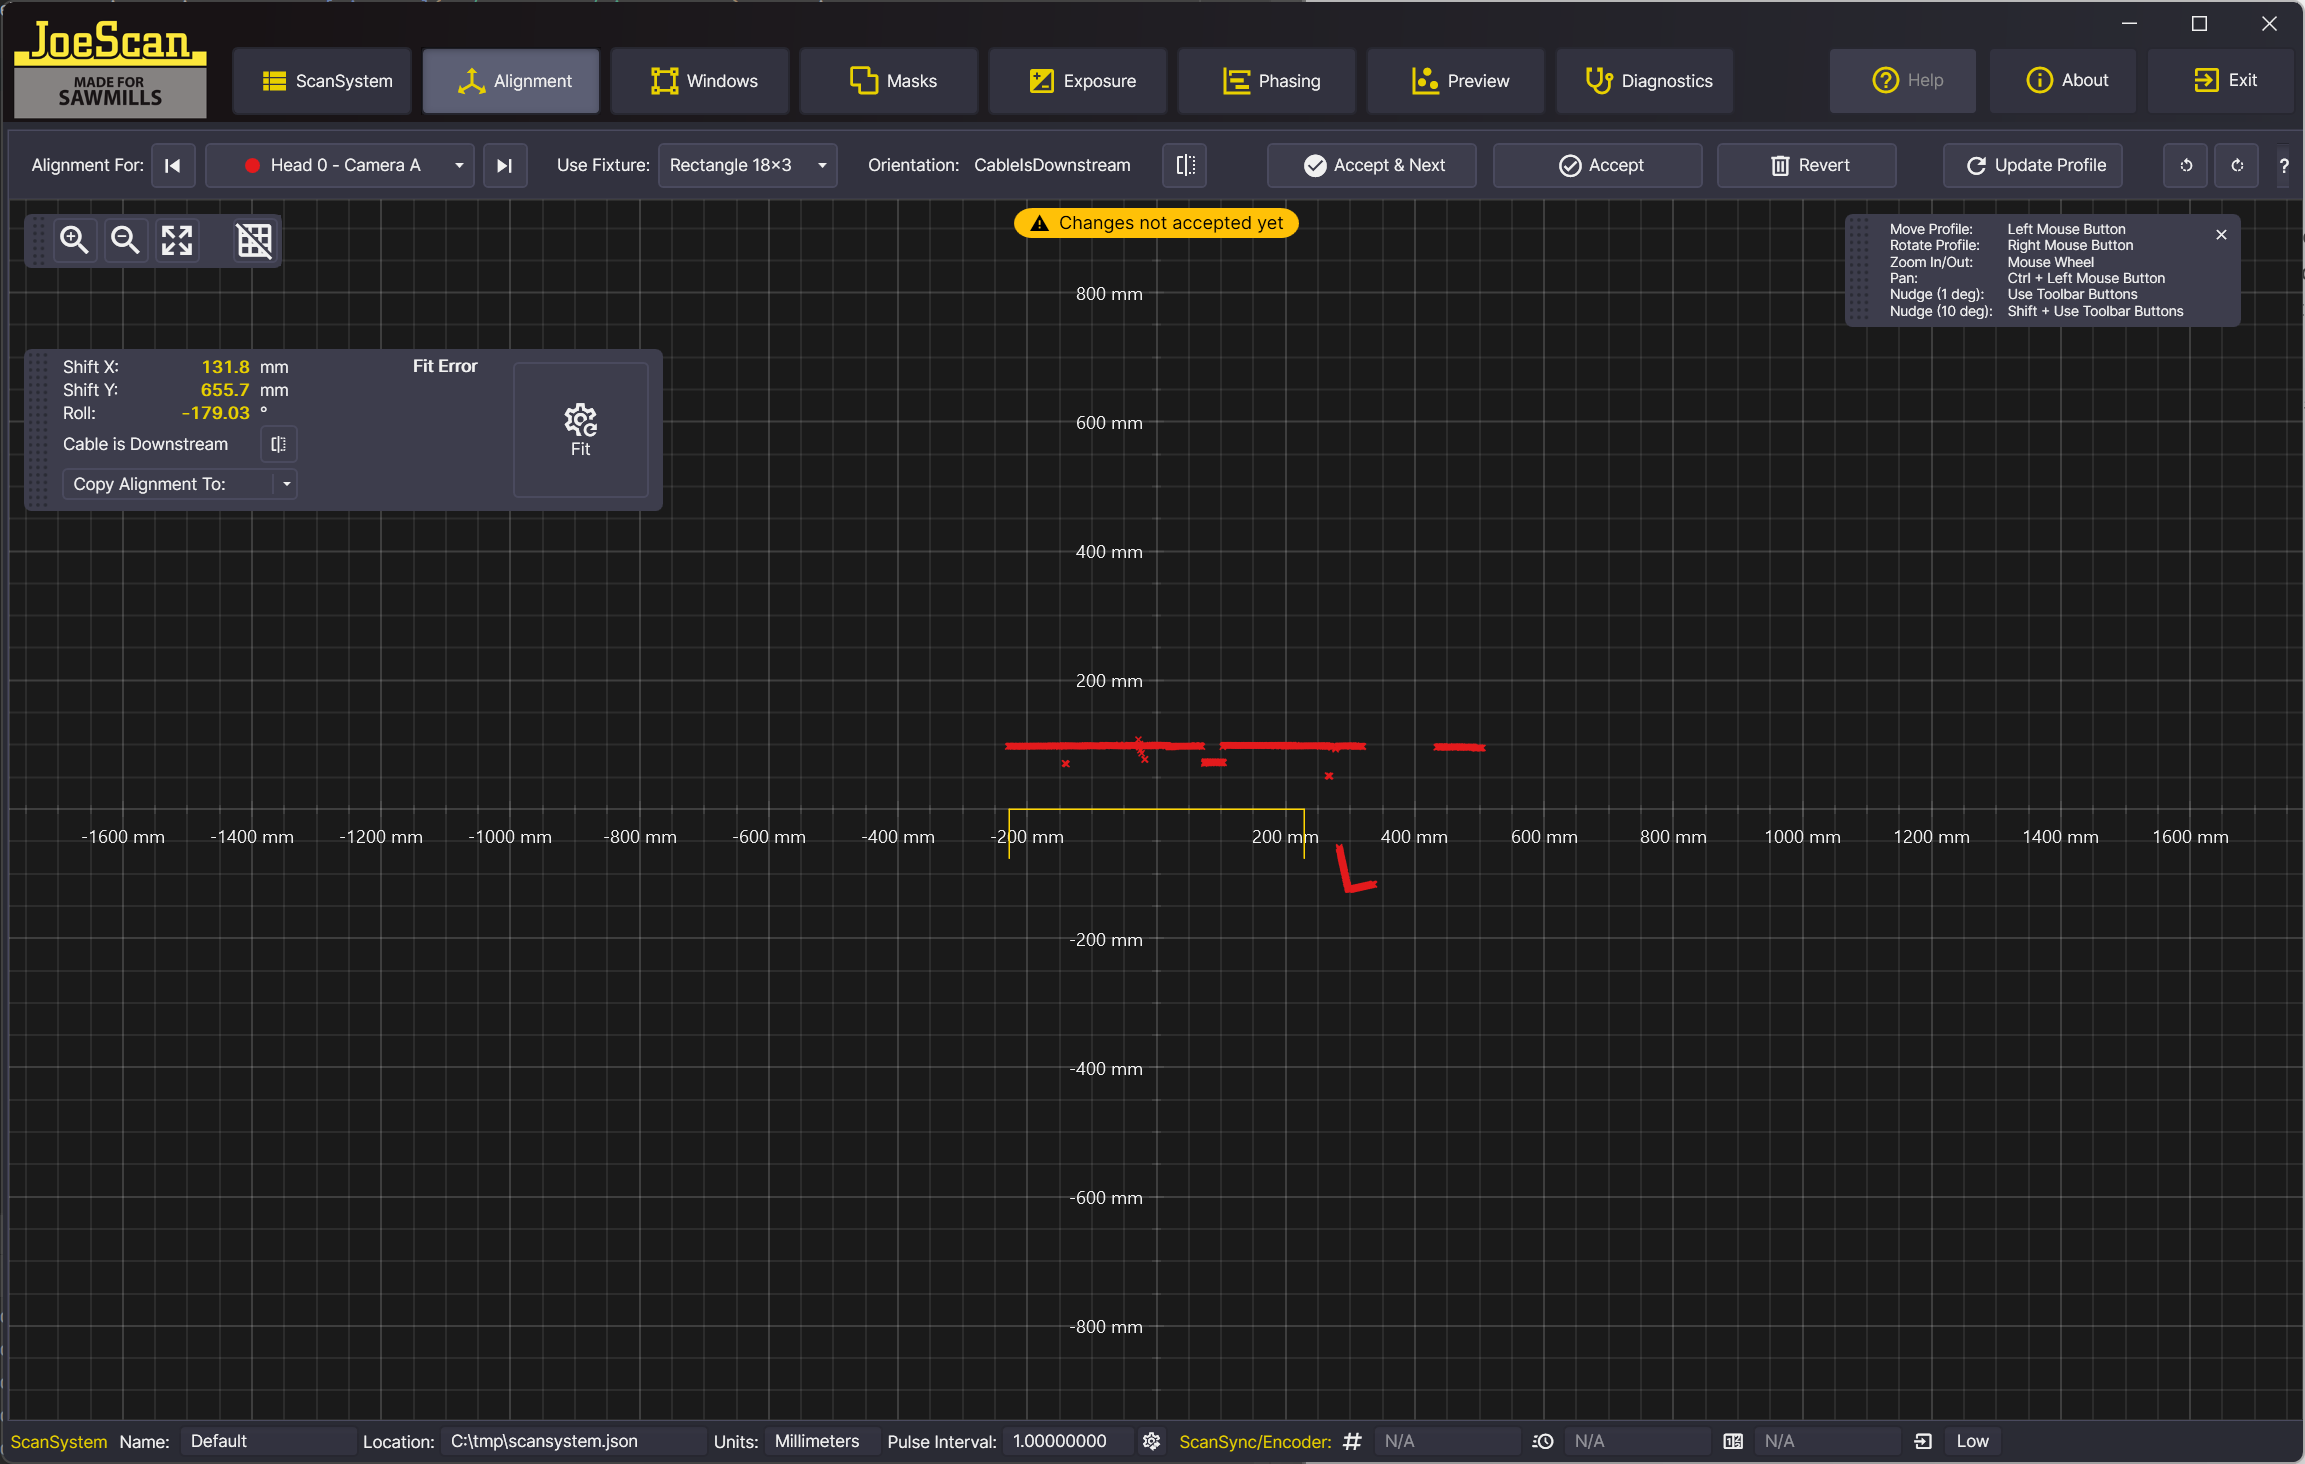
Alignment Editor Area
The bottom part of the Alignment Workspace is the Alignment Editor Area. This is where you can see the current alignment, and edit it. It displays the fixture (in yellow) and the current profile (in the color of the Camera-Laser Pair).
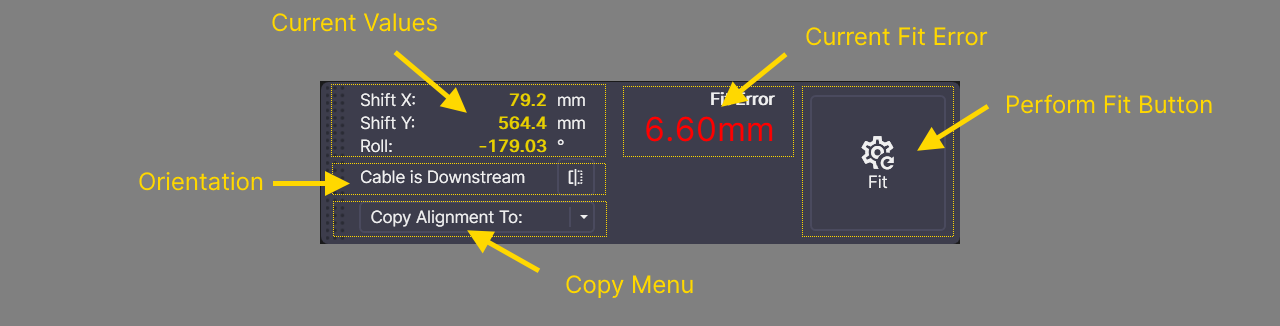
A floating window contains the Alignment Status Indicator, which shows how well the current alignment matches the fixture, as well as the current alignment values.